- Published on
- ← Blog——
From API calls to ActionMailer — Refactoring a Rails App to Use ActionMailer for transactional email
- Authors

- Name
- Harrison Broadbent
- @hrrsnbbnt
Table of Contents
- Why ActionMailer?
- Refactoring the emailing logic
- 1. Configure ActionMailer
- 2. Generate a new mailer
- 3. Add a new method to the mailer controller
- 4. Adjust ApplicationMailer to modify the view directory
- 5. Create a view for our email
- 6. Hijack our SendGrid HTML email template
- 7. Update the model method
- 8. That's it!
- Conclusion
In this article, we're going to walk through the actual refactoring I did inside a side project of mine, in one of the models called Ping.rb.
I'd been adding transactional emails to my side project, a Ruby on Rails app, and I came across an interesting opportunity to do some refactoring.
I'd initially just hacked together some API calls based on the SendGrid API because I thought it would be quicker. But, I've been curious to try out ActionMailer, and I decided to refactor the code to use it.
Turns out that ActionMailer is great!
Our final implementation essentially takes us from 36 LOC → 1 LOC (one line!), and gives us this -
def send_error_email_if_error_code
  ... some error handling ...

  # enqueue the mail for deliver via activejob (so it's non-blocking)
  PingMailer.send_failed_ping_email(self).deliver_later <<<ActionMailer in all it's glory
end
Cleaner code is one of the key benefits I found from using ActionMailer. We're able to replace messy SendGrid API code with more structured ActionMailer flows. Another benefit (that we'll touch on a bit later) is that we can use Mail.deliver_later to asynchronously send our emails via ActiveJob, which is a nice bonus.
One annoying thing I found is that ActionMailer doesn't integrate with SendGrid's dynamic templates, which means we have to create our own email templates and views. Fortunately, I found a pretty simple solutions — I just exported the HTML of the existing dynamic SendGrid template I was using and copied it into my Rails app, which took all of 2 minutes.
Before we start — a quick primer on ActionMailer.
Why ActionMailer?
ActionMailer is a built-in part of Rails, making it a natural choice for maintaining Rails conventions and creating an organized application architecture.
By using ActionMailer, we achieve clean and structured code that is easy to understand while separating our mailer objects, views, and calls from the mail app logic.
One of the significant benefits of ActionMailer is its ability to support asynchronous email sending using the Mail.deliver_later method. This makes sure our application doesn't get stalled while waiting for an email to be sent, and instead enqueues it as an ActiveJob. There's also built in error handling goodies that are very handy.
Additionally, ActionMailer allows us to use Rails views and helpers to craft our email templates, which lets us embed @variables directly into our emails.
Refactoring the emailing logic
Below, we're going to walk through the actual refactoring I did inside my side project, MONN, in one of our models called Ping.rb.
This model stores information about the pings MONN sent your services (to check their latency, status code, etc. ). We wan't to send an email if a Ping fails with an erroneous status_code.
Specifically, we're going to be refactoring the send_error_email method in the Ping.rb model to send error emails with ActionMailer.
This is what my initial hacky email implementation looked like, using the SendGrid API directly inside our Ping model -
def send_error_email
    # only send error email the first time a ping fails
    # second to last because this ping is the last - we want to prev one
    if self.service.pings.second_to_last&.code_is_error?
      return
    end

    email_json_data = {
      personalizations: [
        {
          to: [
            {
              email: self.user.email
            }
          ],
          dynamic_template_data: {
            connection_name: self.service.connection.name,
            service_name: self.service.name,
            error_code: self.code,
            error_message: self.message
          }
        }
      ],
      from: {
        email: 'development.harrison@gmail.com'
      },
      template_id: 'd-[redacted]'
    }

    sg = SendGrid::API.new(api_key: Rails.application.credentials.sendgrid[:api_key])
    response = nil
    begin
      response = sg.client.mail._('send').post(request_body: email_json_data.to_json)
    rescue StandardError => e
      puts 'error sending email', e.message
    end
  end
There's a lot going on here!
We're creating a JSON body, creating a new SendGrid::API object, sending the mail and handling it's errors. It's ugly code, with lot's going on.
After we're done refactoring, we end up with this —
def send_error_email_if_error_code
    # guard check since we call this method every time we ping
    return unless self.code_is_error?

    # only send error email the first time a ping fails
    # second to last because this ping is the last - we want to prev one
    return if self.service.pings.second_to_last&.code_is_error?

    # enqueue the mail for deliver via activejob (so it's non-blocking)
    PingMailer.send_failed_ping_email(self).deliver_later
  end
We go from 36 lines down to this, with super clear, easy to follow code.
It's pretty incredible! So let's get started with our ActionMailer refactor.
1. Configure ActionMailer
First, we need to set some ActionMailer::Base.smtp_settings in our config/environment.rb file. This configuration allows our application to communicate with SendGrid's SMTP server, and ensures that Rails sends emails using SendGrid's SMTP server.
This is done according to the official SendGrid documentation.
We want to add this code to config/environment.rb -
ActionMailer::Base.smtp_settings = {
  user_name: 'apikey',
  password: Rails.application.credentials.sendgrid[:api_key],
  domain: 'yourdomain.com',
  address: 'smtp.sendgrid.net',
  port: 587,
  authentication: :plain,
  enable_starttls_auto: true
}
In my case, the final file looked like this -
# Load the Rails application.
require_relative "application"

# Initialize the Rails application.
Rails.application.initialize!

# initialize ActionMailer with Sendgrid API
# see https://api.rubyonrails.org/classes/ActionMailer/Base.html for more config
ActionMailer::Base.smtp_settings = {
  user_name: 'apikey', # This is the string literal 'apikey', NOT the ID of your API key
  password: Rails.application.credentials.sendgrid[:api_key], # This is the secret sendgrid API key which was issued during API key creation
  domain: 'development.harrison@gmail.com',
  address: 'smtp.sendgrid.net',
  port: 587,
  authentication: :plain,
  enable_starttls_auto: true
}
Note that if you haven't already, you should put your SendGrid API key into ENV or Rails credentials. I've written another handy post to help you get started with Rails Credentials here - Custom credentials in your Rails app.
Don't forget to replace 'yourdomain.com' with the domain you're using for sending emails.
2. Generate a new mailer
Next, we run rails g mailer PingMailer to generate a new mailer for our Ping model.
This will create a file named ping_mailer.rb inside the app/mailers directory, as well as a folder named ping_mailer inside the app/views directory.
The terminal output will look something like this -
$: rails g mailer PingMailer

    create  app/mailers/ping_mailer.rb
    invoke  tailwindcss
      create    app/views/ping_mailer
    ... plus some RSpec tests...
3. Add a new method to the mailer controller
Open the ping_mailer.rb file and define a new method called send_failed_ping_email, which takes in a Ping.
class PingMailer < ApplicationMailer

  def send_failed_ping_email(ping)
    @ping = ping # ping needed in controller and views

    mail(to: @ping.user.email,
         subject: "Alert: ping failed for #{@ping.service.name} (#{@ping.service.connection.name})")
  end

end
All this method does is take in a Ping and prepare a Mail object using some the Pings values.
We also define @ping so that we can use it in our email view.
4. Adjust ApplicationMailer to modify the view directory
A handy tip that I found from here — All your Mailer views in one place — is to adjust our ApplicationMailer to store email templates in a more sensible location.
By default, Rails will look for our views in app/views/ping_mailer. By adding prepend_view_path "app/views/mailers" we can change it to "app/views/mailers/ping_mailer".
In my opinion, this makes it a bit clearer which views are for our mailers, and which are normal views for our app.
While we're here, we also want to set our default sender address.
class ApplicationMailer < ActionMailer::Base
  prepend_view_path "app/views/mailers"
  default from: 'no-reply@yourdomain.com'
end
Don't forget to replace yourdomain.com with your actual domain.
5. Create a view for our email
Within the app/views/mailers/ping_mailer directory (which we just set as the mailer views path), create a file named send_failed_ping_email.html.erb.
This file defines the email's HTML content. Similar to the typical controller / view patter in Rails, our PingMailer controller maps it's methods onto corresponding views.
In our case, send_failed_ping_email is automatically mapped to the ping_mailer/send_failed_ping_email.html.erb view.
6. Hijack our SendGrid HTML email template
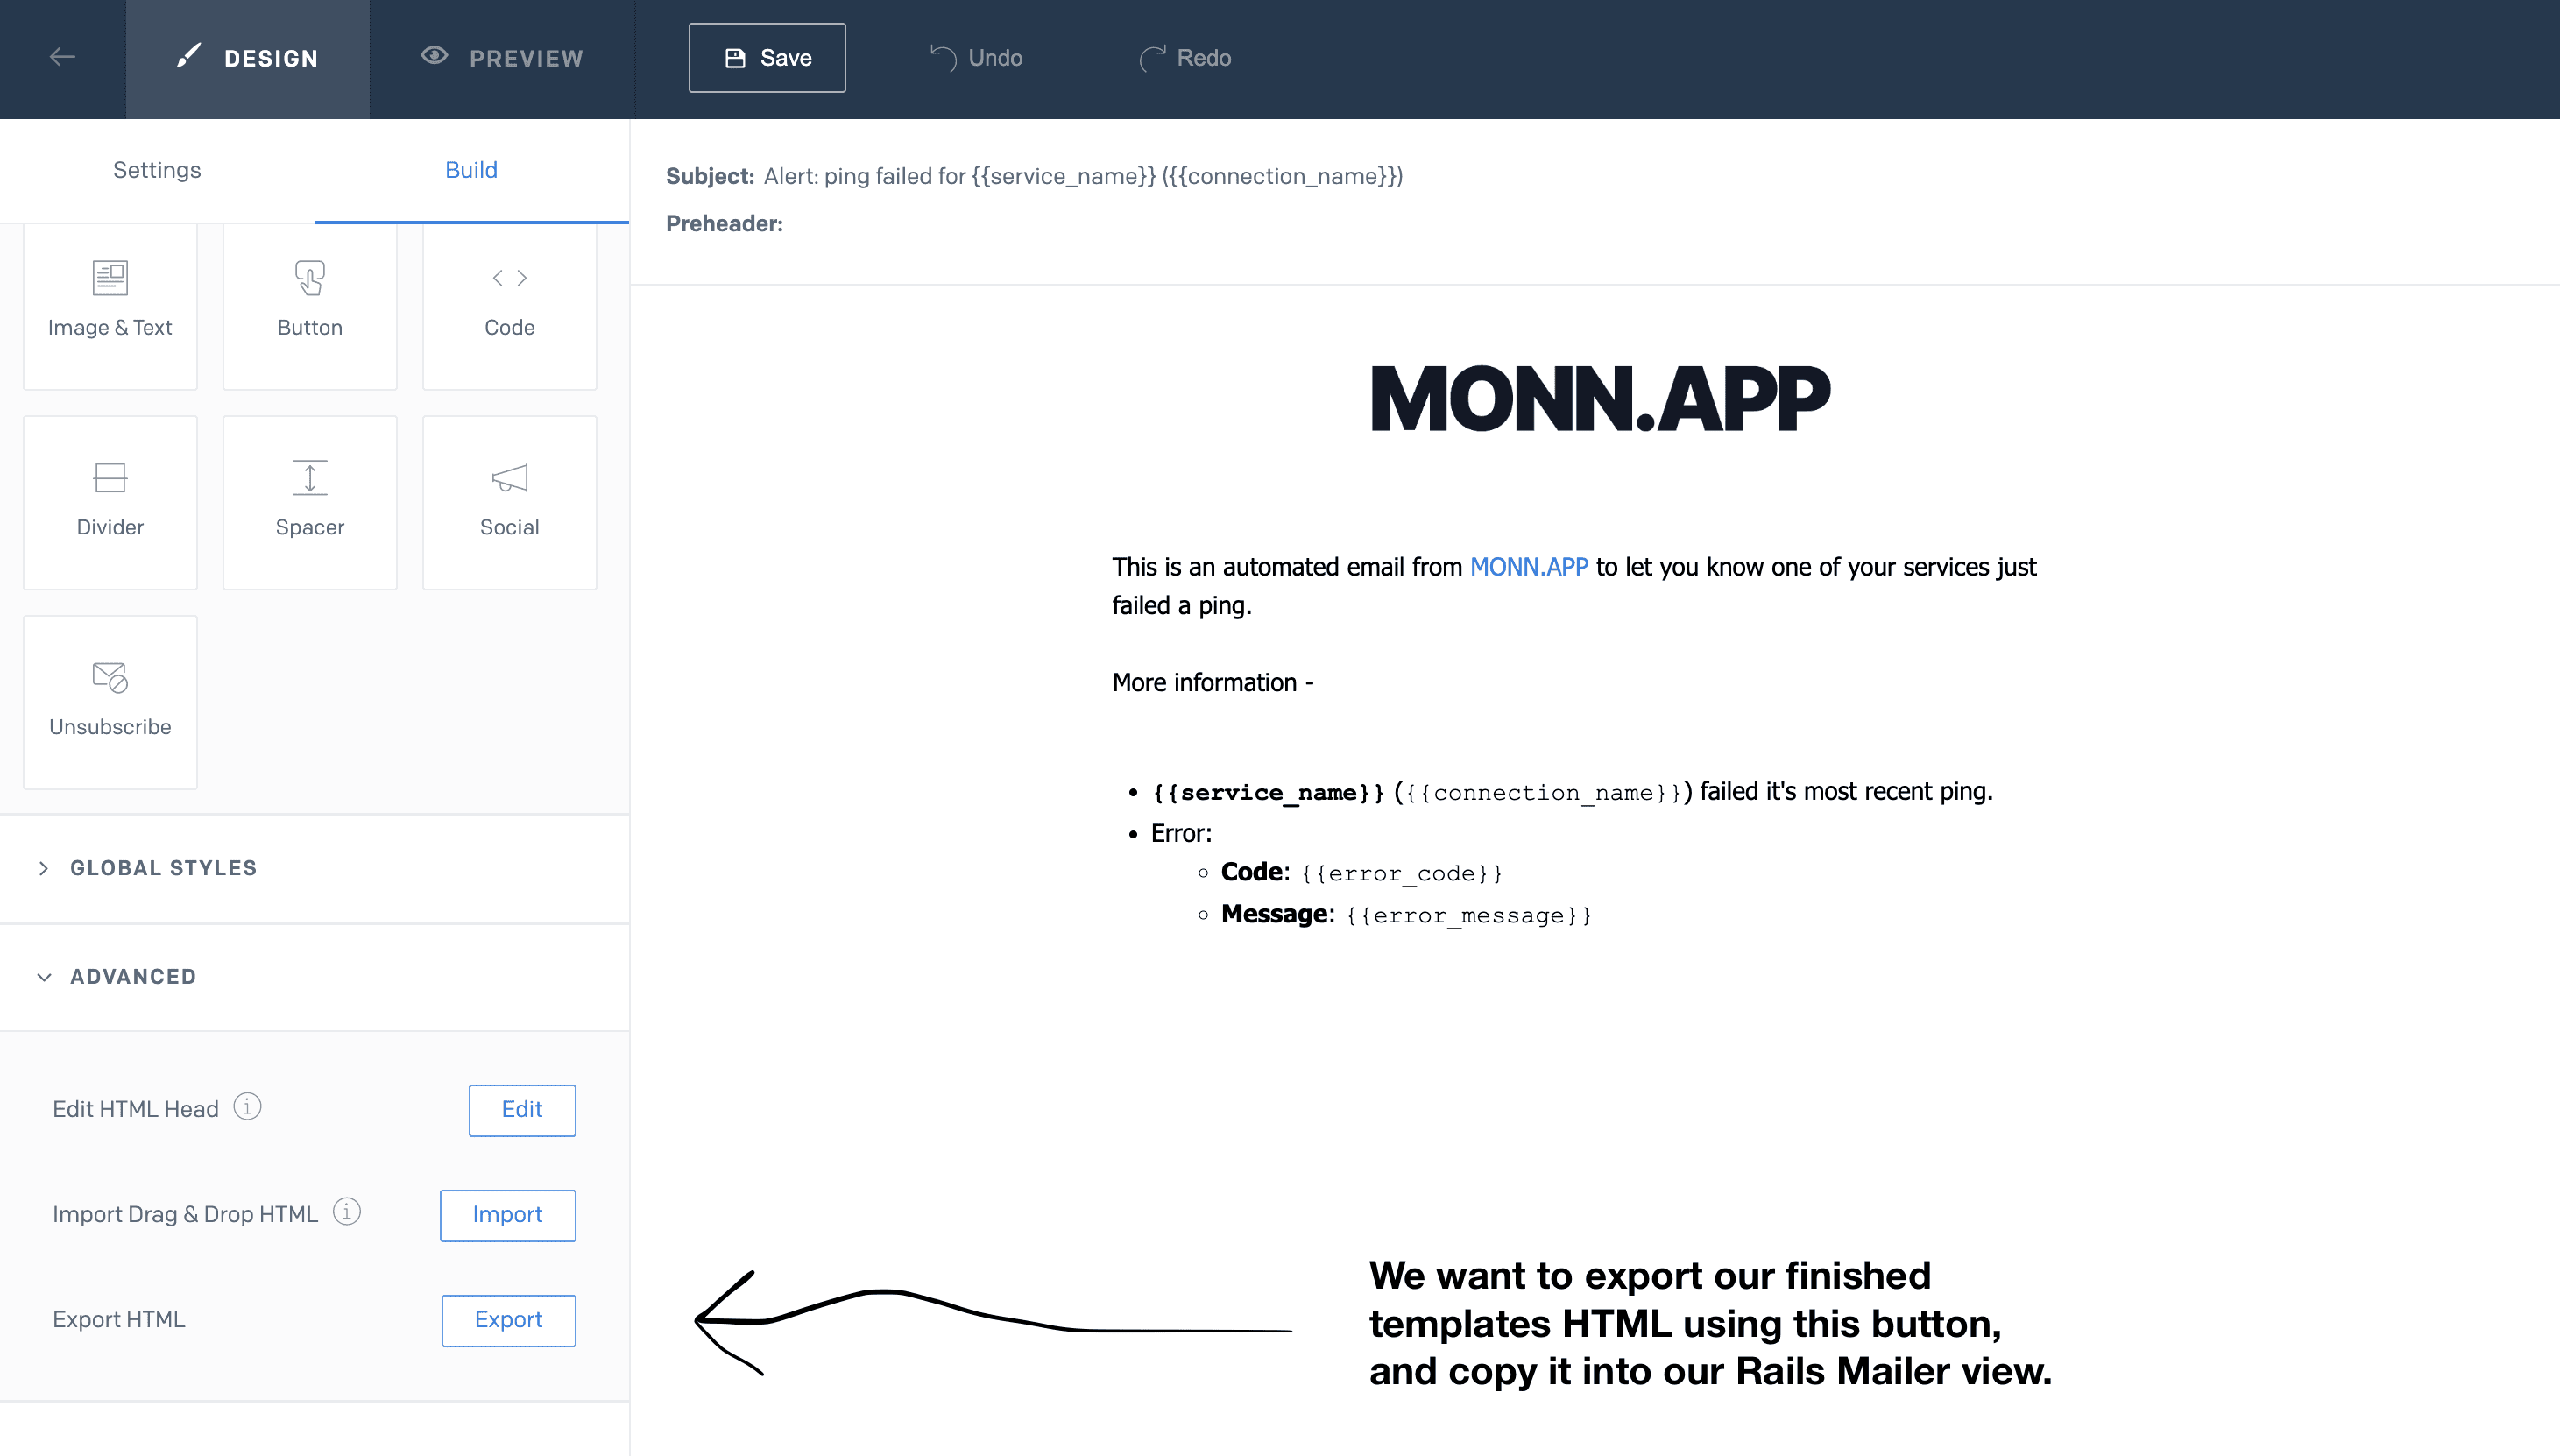
Rather than hack together an HTML email template, I just grabbed my existing dynamic template from SendGrid and copied it in.
There's a handy "Export HTML" option that we can use to do this easily —

Once we've got that, we can paste the HTML into send_failed_ping_email.html.erb.
Replace any {{handlbars variables}} with <%= ERB template tags %> to render the correct data when sending the email. We can use the variables defined in our Mailer, like @ping.
7. Update the model method
Now that ActionMailer is ready to go, we can replace all the existing SendGrid code in our Ping.send_error_email method. All we need to replace it with is this —
PingMailer.send_failed_ping_email(self).deliver_later
All up, the final model method will look similar to this:
def send_error_email_if_error_code
    # guard check since we call this method every time we ping
    return unless self.code_is_error?

    # only send error email the first time a ping fails
    # second to last because this ping is the last - we want to prev one
    return if self.service.pings.second_to_last&.code_is_error?

    # enqueue the mail for deliver via activejob (so it's non-blocking)
    PingMailer.send_failed_ping_email(self).deliver_later
  end
(Note that I adjusted the method a bit as I was going, which added the new guard clause at the start)
8. That's it!
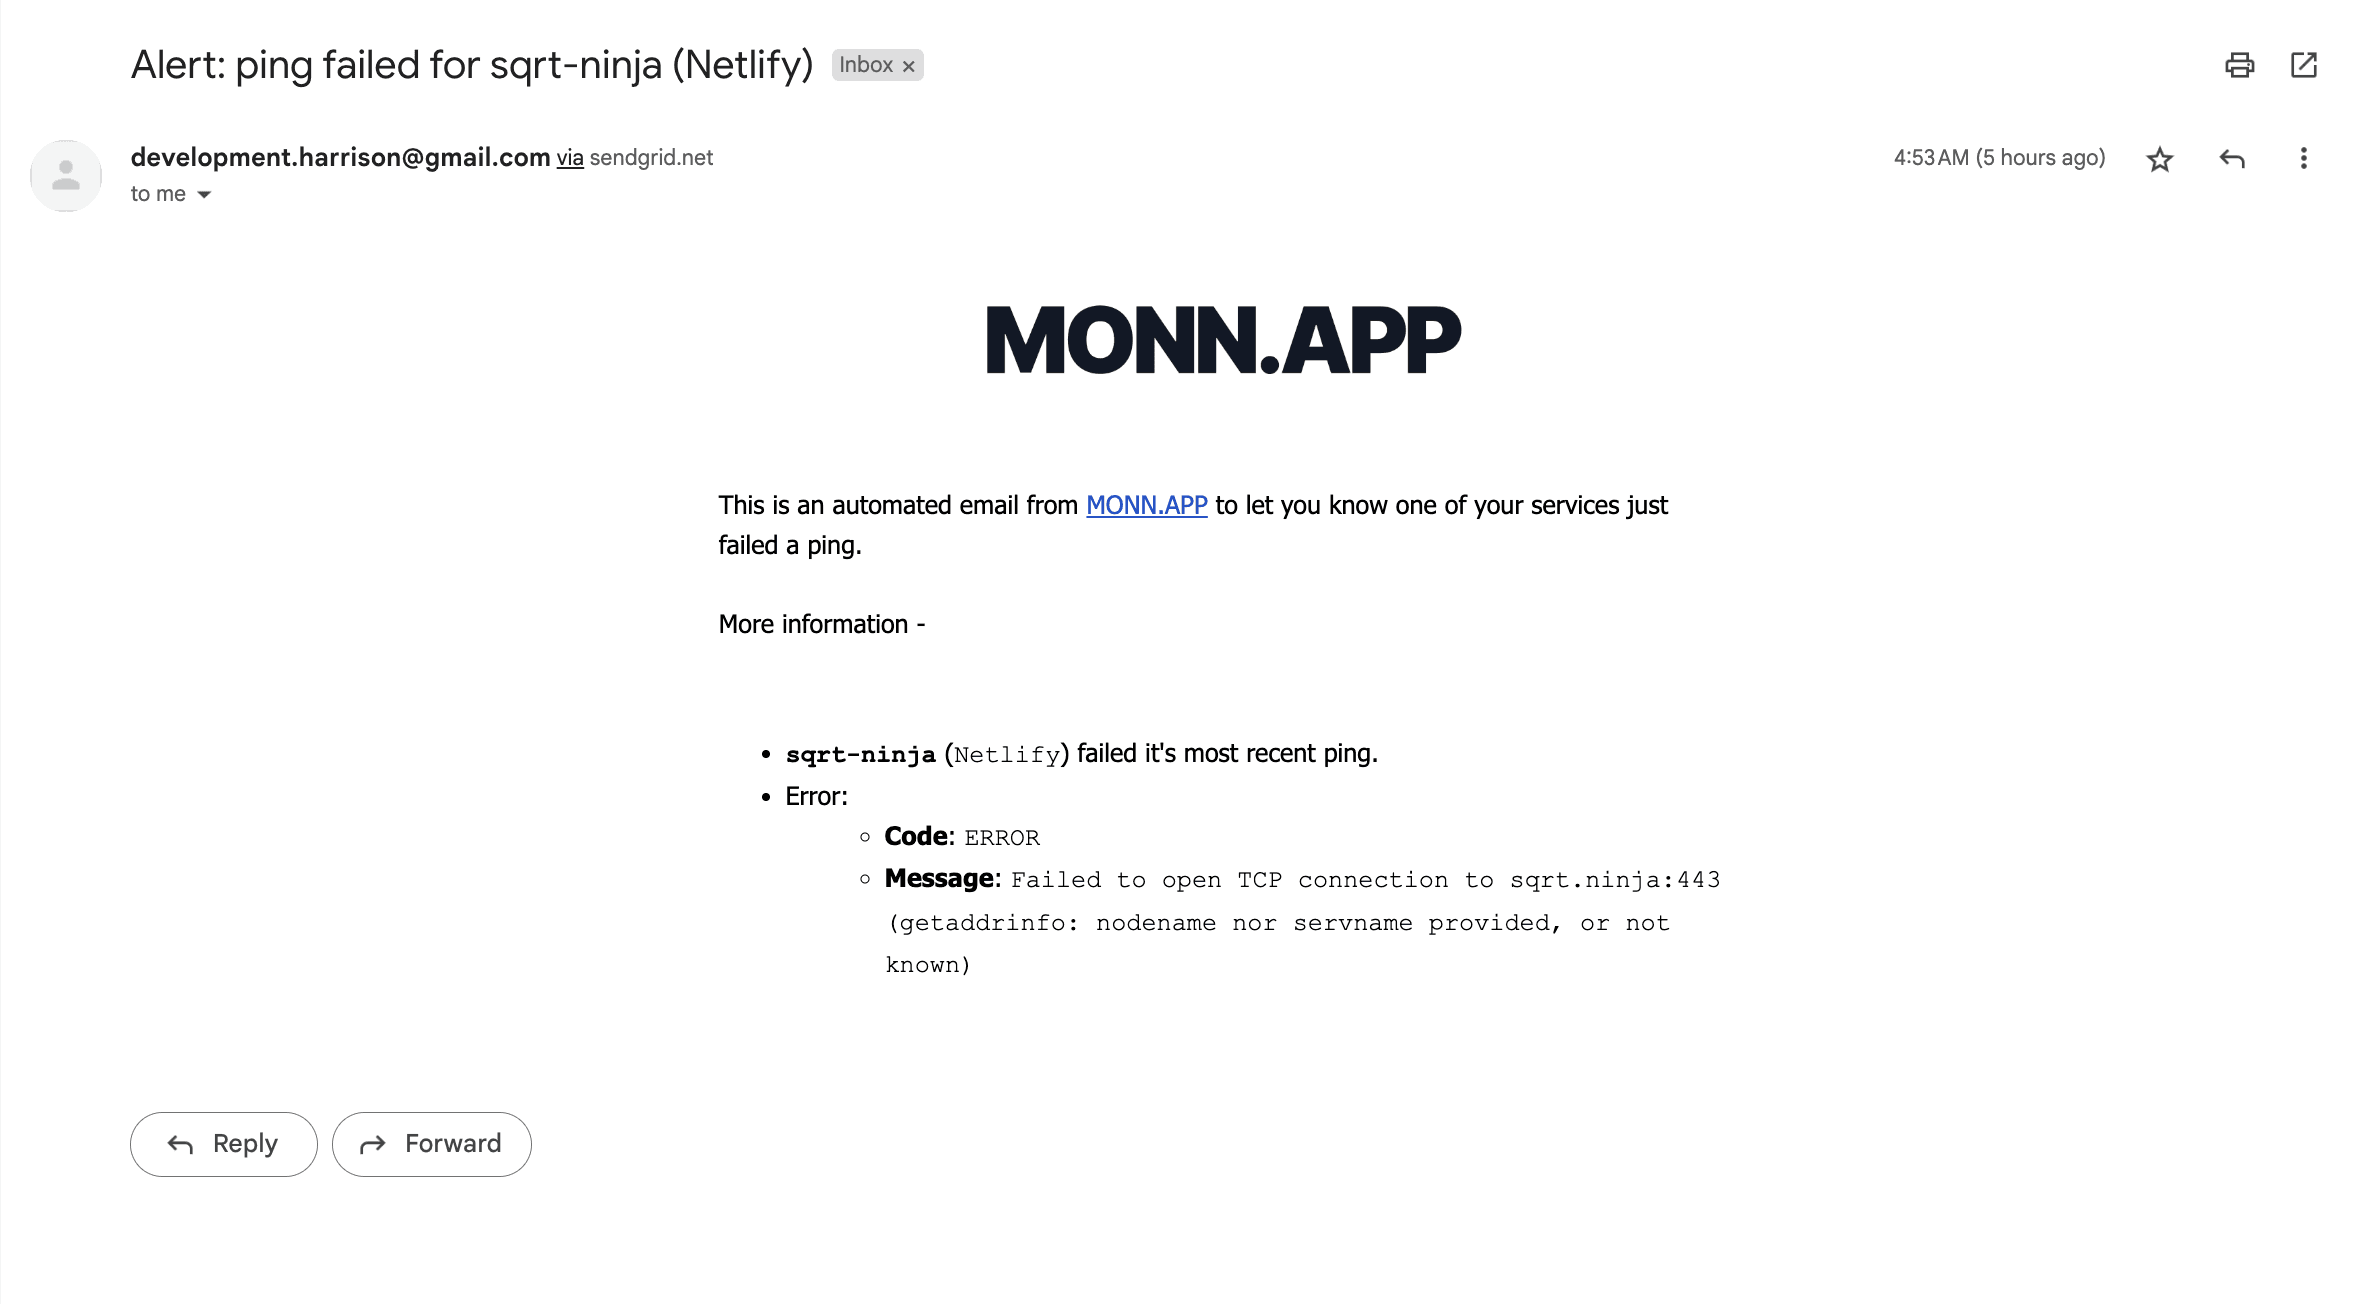
We're done! Our mailer is integrated, and calling the method sends us an email like so —

If you watch your terminal, you'll see messages like this -
07:02:22 sidekiq.1 | 2023-05-13T21:02:22.360Z pid=29182 tid=c8q class=ActionMailer::MailDeliveryJob jid=51b7954c5d6c6c050fd305f4 INFO: Performed ActionMailer::MailDeliveryJob (Job ID: 515e7f3c-7741-4a12-868e-42fb0d232206) from Sidekiq(default) in 2643.23ms

07:02:22 sidekiq.1 | 2023-05-13T21:02:22.360Z pid=29182 tid=c8q class=ActionMailer::MailDeliveryJob jid=51b7954c5d6c6c050fd305f4 elapsed=2.657 INFO: done
Which show Sidekiq enqueueing and running our ActionMailer::MailDeliveryJob.
Rails uses jobs for a lot of background processes. ActionMailers deliver_later job is one of them, but if you've ever built a ruby on rails app with hotwire, you'll know that they can also be used for live frontend updates, among other things.
Conclusion
I hope you found this refactoring guide useful. If you're new to ActionMailer, like I was, you'll realize that it's quite easy to use and brings a lot of benefits to your Rails app.